Nothing beats the taste of fresh, homemade focaccia bread. This Italian classic, with its golden crust and pillowy interior, makes the perfect accompaniment to soups, salads, or even as a sandwich base.
The best part? It’s surprisingly easy to make! With just a handful of ingredients and a little patience, you’ll have a bakery-quality focaccia that fills your home with an irresistible aroma.
Let’s dive into the step-by-step guide to making the best focaccia bread from scratch.
🎥 Want to skip ahead? Watch the video here

Why You’ll Love This Focaccia Recipe
This focaccia is everything you want in a homemade bread: easy to make, with no tricky techniques or fancy equipment required. It delivers the perfect contrast in texture — crispy on the outside, soft and airy on the inside. It’s also incredibly versatile.
With endless flavor variations, you can customize it to suit your taste by mixing in herbs, cheese, olives, or whatever you’re craving.
Whether you’re hosting guests or just making a cozy meal at home, it’s a great option for any occasion — serve it as an appetizer, side dish, or even a snack on its own.
This post contains affiliate links. If you purchase through these links, I may earn a small commission at no extra cost to you. Thank you for supporting my blog!
Ingredients
For this simple yet flavorful focaccia bread, gather the following ingredients:
Dough:
- 4 cups (500g) all-purpose flour
- 2 teaspoons salt (I use Maldon Sea Salt Flakes)
- 2 1/4 teaspoons (1 packet) active dry yeast
- 1 3/4 cups (415ml) warm water
- 1 tablespoon honey
- 1/4 cup (60ml) olive oil, plus more for drizzling (I use California Extra Virgin Oil)
Try These Toppings
- 2 tablespoons olive oil
- 1 teaspoon flaky sea salt
- 1 tablespoon fresh rosemary (or dried)
- Optional: cherry tomatoes, garlic cloves, black olives, or caramelized onion
Step-by-Step Instructions
Step 1: Activate the Yeast
In a small bowl, combine warm water, honey, and active dry yeast. Stir gently and let it sit for about 5–10 minutes until it becomes foamy.
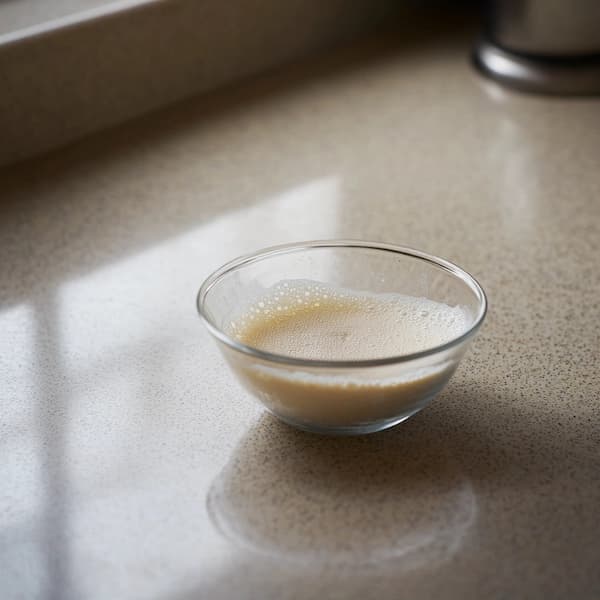
This step ensures the yeast is alive and ready to help the dough rise.
Step 2: Mix the Dough
In a large mixing bowl, whisk together the flour and salt. Make a well in the center and pour in the activated yeast mixture along with 1/4 cup olive oil. Stir with a wooden spoon or use a stand mixer with a dough hook until the mixture forms a sticky dough.

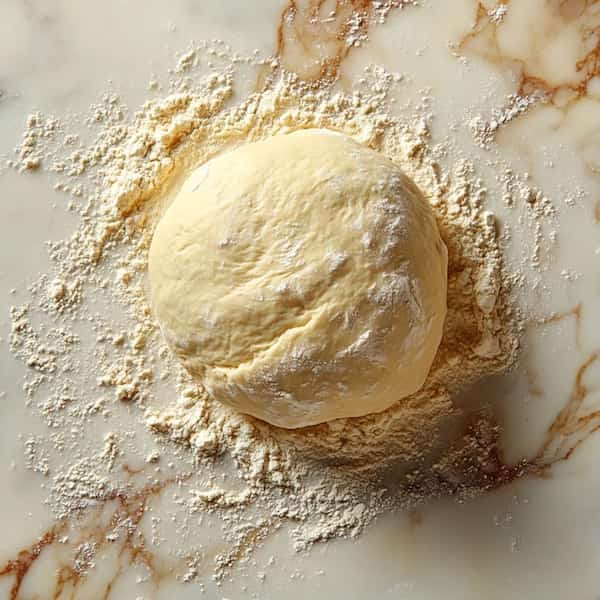
Step 3: Knead the Dough
Turn the dough onto a floured surface and knead it for about 8–10 minutes until it becomes smooth and elastic. If using a stand mixer, knead on medium speed for 5–6 minutes.
Step 4: First Rise
Place the dough in a lightly greased bowl, cover it with a clean towel, and let it rise in a warm spot for 1 to 1.5 hours, or until doubled in size.
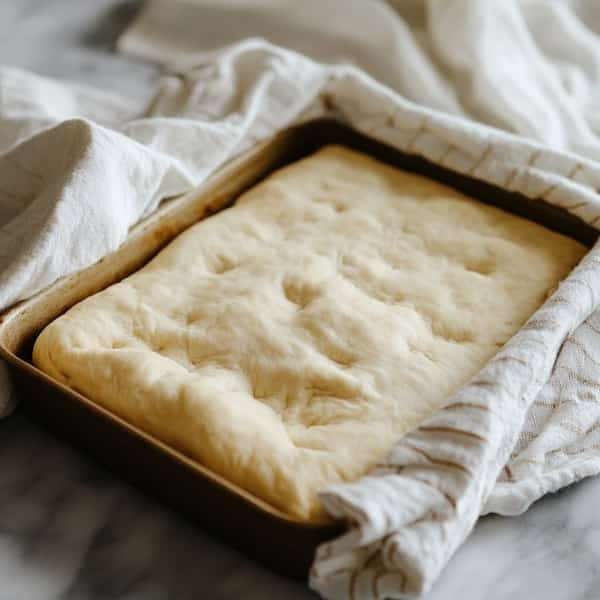
Step 5: Prepare the Baking Pan
Drizzle a generous amount of olive oil into a 9×13-inch baking dish or sheet pan. Transfer the risen dough into the pan and gently stretch it to fit. Let it rest for another 30 minutes so it puffs up slightly.
To achieve a crispy golden crust, I always use this nonstick baking sheet — it never fails me.
Step 6: Create the Signature Dimples
Preheat your oven to 425°F (220°C). Using your fingers, press deep dimples all over the dough. These dimples help trap the olive oil and create the classic focaccia texture.
Step 7: Add Toppings
Brush the surface with 2 tablespoons of olive oil. Sprinkle flaky sea salt and fresh rosemary over the top. For extra flavor, add sliced cherry tomatoes, olives, or caramelized onions.
Step 8: Bake to Perfection
Place the focaccia in the preheated oven and bake for 20–25 minutes or until golden brown. The edges should be crisp, and the top should have a beautiful golden hue.

Step 9: Cool and Serve
Let the focaccia cool for at least 10 minutes before slicing. Drizzle with more olive oil if desired and serve warm or at room temperature.
Tips for the Best Focaccia
To get that signature golden crust and rich flavor, use high-quality olive oil — it’s one of the key ingredients, so it’s worth using the good stuff. Let the dough take its time: a proper rise, especially an overnight one in the fridge, develops deeper flavor and better texture.
Don’t be afraid to experiment with toppings.
From sun-dried tomatoes and feta cheese to pesto swirls or caramelized onions, the possibilities are endless. When storing leftovers, keep it in an airtight container at room temperature for up to two days, or refrigerate for up to five.
To bring back its just-baked goodness, reheat it in the oven before serving.
Serving Suggestions for Focaccia
Focaccia is as flexible as it is delicious. Pair it with a bowl of warm soup — tomato, minestrone, or butternut squash are all great matches.
You can also slice it horizontally and use it as sandwich bread, especially for panini or pressed sandwiches. Or keep it simple and classic: serve with a small dish of olive oil and balsamic vinegar for dipping.
Shop This Recipe
To make this delicious Focaccia Bread, here are the exact tools and ingredients I recommend:
- Nordic Ware Natural Aluminum Commercial Baker’s Half Sheet
A heavy-duty baking sheet that ensures even heat distribution and that perfect golden crust. - California Olive Ranch Extra Virgin Olive Oil
Rich, high-quality olive oil for that authentic focaccia flavor. - Maldon Sea Salt Flakes, 8.5 oz
These sea salt flakes give your focaccia the perfect crunchy topping. - Cambro 6-Quart Dough Rising Container with Lid
Perfect for proofing dough with plenty of space to rise. - OXO Good Grips Silicone Basting & Pastry Brush
For brushing olive oil evenly over the dough before baking.

Easy Homemade Focaccia Bread Recipe
- Prep Time: 2 hours
- Cook Time: 25-30 minutes
- Total Time: 2.5 hours
- Yield: 4 servings 1x
- Category: Side Dish
- Method: Baking
- Cuisine: Italian
- Diet: Vegetarian
Description
This focaccia is everything you want in a homemade bread: easy to make, with no tricky techniques or fancy equipment required. It delivers the perfect contrast in texture — crispy on the outside, soft and airy on the inside. It’s also incredibly versatile.
Ingredients
Dough:
- 4 cups (500g) all-purpose flour
- 2 teaspoons salt (I use Maldon Sea Salt Flakes)
- 2 1/4 teaspoons (1 packet) active dry yeast
- 1 3/4 cups (415ml) warm water
- 1 tablespoon honey
- 1/4 cup (60ml) olive oil, plus more for drizzling (I use California Extra Virgin Oil)
Try These Toppings
- 2 tablespoons olive oil
- 1 teaspoon flaky sea salt
- 1 tablespoon fresh rosemary (or dried)
- Optional: cherry tomatoes, garlic cloves, black olives, or caramelized onion
Instructions
In a small bowl, combine warm water, honey, and active dry yeast. Stir gently and let it sit for about 5–10 minutes until it becomes foamy.
In a large mixing bowl, whisk together the flour and salt. Make a well in the center and pour in the activated yeast mixture along with 1/4 cup olive oil. Stir with a wooden spoon or use a stand mixer with a dough hook until the mixture forms a sticky dough.
Turn the dough onto a floured surface and knead it for about 8–10 minutes until it becomes smooth and elastic. If using a stand mixer, knead on medium speed for 5–6 minutes.
Place the dough in a lightly greased bowl, cover it with a clean towel, and let it rise in a warm spot for 1 to 1.5 hours, or until doubled in size.
Drizzle a generous amount of olive oil into a 9×13-inch baking dish or sheet pan. Transfer the risen dough into the pan and gently stretch it to fit. Let it rest for another 30 minutes so it puffs up slightly.
Preheat your oven to 425°F (220°C). Using your fingers, press deep dimples all over the dough. These dimples help trap the olive oil and create the classic focaccia texture.
Notes
To get that signature golden crust and rich flavor, use high-quality olive oil — it’s one of the key ingredients, so it’s worth using the good stuff. Let the dough take its time: a proper rise, especially an overnight one in the fridge, develops deeper flavor and better texture.
Don’t be afraid to experiment with toppings.
From sun-dried tomatoes and feta cheese to pesto swirls or caramelized onions, the possibilities are endless. When storing leftovers, keep it in an airtight container at room temperature for up to two days, or refrigerate for up to five.
To bring back its just-baked goodness, reheat it in the oven before serving.