I’ll be honest: I’ve always had a soft spot for onion rings. That salty, crunchy exterior giving way to a tender, sweet onion center? Pure magic.
And while I’ve tried plenty of frozen bags over the years, nothing compares to the real thing made from scratch. The best part? You don’t need a deep fryer to pull it off — just a hot pan or your trusty air fryer.
This recipe gives you the ultimate golden, crisp coating with simple ingredients and a foolproof method. I tested it every way I could think of, and this version hits all the marks: crunch, flavor, and that beautiful contrast between the crisp coating and soft onion.
Why I Love These Onion Rings
They’re a little messy, sure — but so worth it. The onions get soaked in buttermilk first to soften just slightly, and then coated in a seasoned flour and breadcrumb mix that fries up (or air-fries up) with a perfect shatter. They hold their crisp even after cooling a bit, and they’re wildly addictive.
Also, they’re just fun to make. Cutting the rings, dipping them, watching them puff and crisp — it turns snack food into a hands-on experience. Great for game night, cookouts, or whenever you need a little crunchy indulgence.
Ingredients
- 2 large yellow or sweet onions
- 1 ½ cups buttermilk (or 1 ½ cups milk + 1 tbsp vinegar)
- 1 cup all-purpose flour
- ½ teaspoon garlic powder
- ½ teaspoon paprika
- 1 teaspoon salt
- ½ teaspoon black pepper
- 2 large eggs
- 1 ½ cups panko breadcrumbs (for extra crunch)
- Optional: ¼ cup cornmeal (for added texture)
- Vegetable oil for frying (if pan-frying)
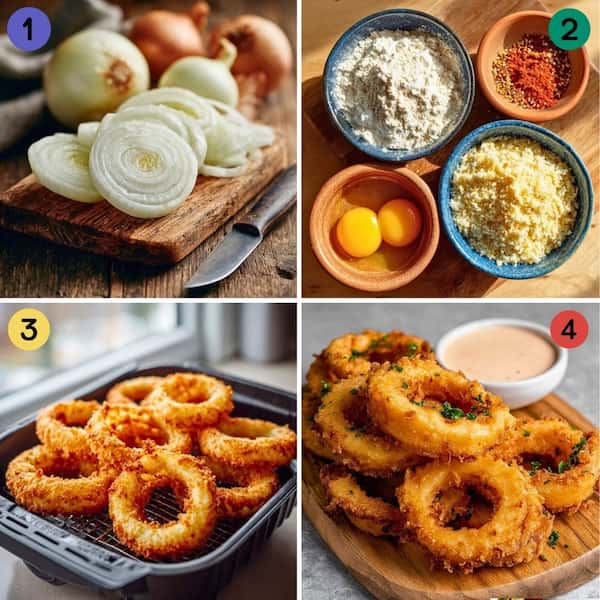
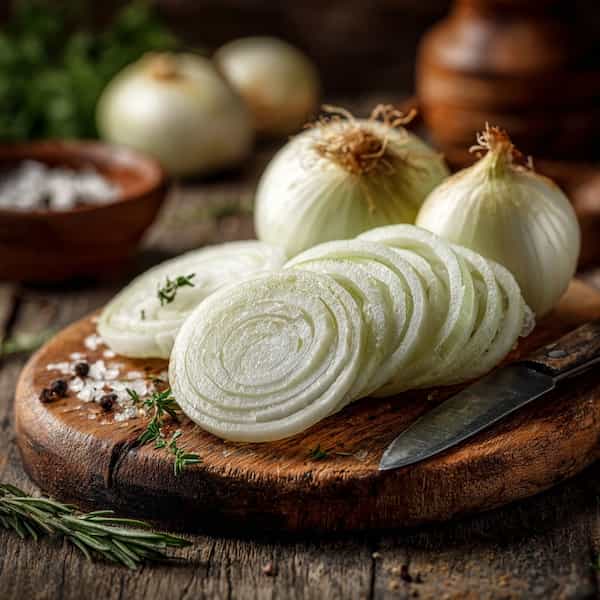
How to Cut the Onions
Peel your onions and slice them into ½-inch thick rounds, then separate them into rings. Try to keep them even so they cook consistently. Save the smallest inner rings for a second batch or chop them up for another dish.
Soak the Onions
Place your separated onion rings in a bowl with the buttermilk. Let them soak for at least 30 minutes, or up to 2 hours in the fridge. This softens them just a bit and helps the coating stick.
Set Up a Breading Station
Grab three shallow bowls or plates.
- Bowl 1: Flour, garlic powder, paprika, salt, and pepper.
- Bowl 2: Lightly beaten eggs.
- Bowl 3: Panko breadcrumbs (plus cornmeal, if using).
Drain the onion rings from the buttermilk, then work one at a time: dredge in flour, dip in egg, and press into panko until well coated.
Tip: Use one hand for dry ingredients and one for wet to keep things cleaner.

Fry Until Golden
Heat about 1 inch of vegetable oil in a skillet over medium-high heat until shimmering. Carefully add a few onion rings at a time — don’t crowd the pan.
Fry for 2–3 minutes per side, until golden and crisp. Transfer to a paper towel-lined plate and sprinkle with salt while hot.
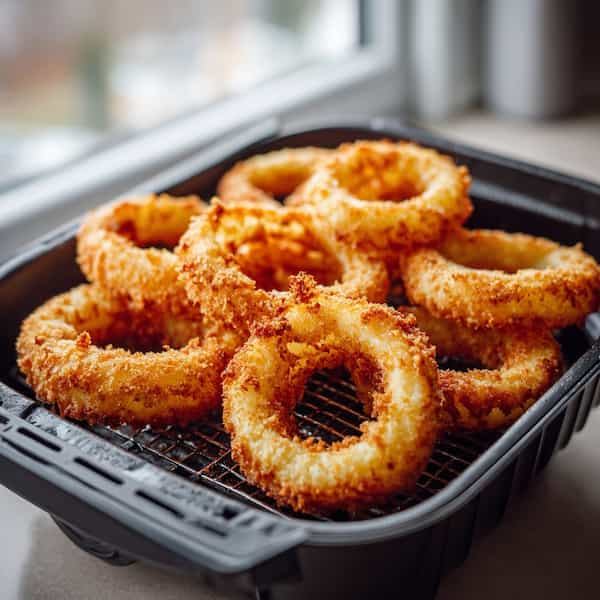
Air Fryer Instructions
Want the crunch without the oil? Air fryer to the rescue.
How to Air Fry Onion Rings:
- Preheat your air fryer to 375°F (190°C).
- After breading, spray both sides of each ring lightly with oil spray.
- Place in a single layer in the basket — work in batches if needed.
- Air fry for 8–10 minutes, flipping halfway through, until golden and crispy.
They won’t be quite as deeply golden as the fried version, but they’ll still be incredibly crispy and satisfying.
How to Serve Them
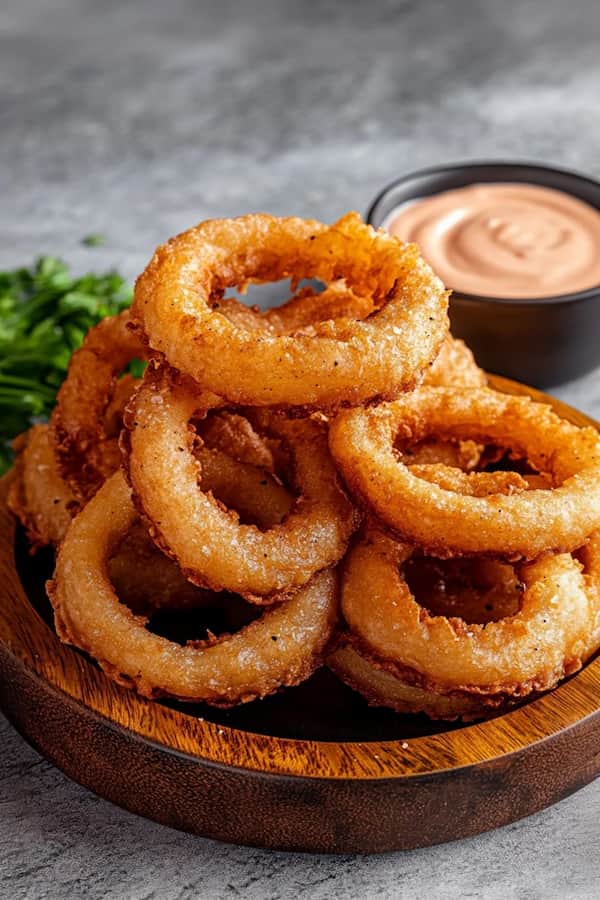
You can serve these classic or get creative. They’re perfect with ketchup, ranch, or spicy mayo, or go old-school with a side of tartar sauce or blue cheese dip. I’ve even layered them into burgers, piled them on chili, or dunked them into sriracha aioli for something a little extra.
They’re best eaten fresh, but if you have leftovers, pop them back into the air fryer or a 400°F oven for 5–8 minutes to revive the crispiness.
Make It Yours
There’s plenty of room to play here. Want a little heat? Add cayenne or chipotle powder to the flour mix. More crunch? Mix crushed cornflakes with your panko. Gluten-free? Use a 1:1 GF flour blend and gluten-free breadcrumbs. Vegan? Sub plant milk + vinegar for the buttermilk, and use a flax egg or dairy-free mayo for binding.
You can even make these beer-battered by mixing flour with your favorite lager instead of doing a dry crumb coating. They’ll be softer but totally delicious.
Tips for Onion Ring Success
- Dry hands are key when breading — use one for wet ingredients and the other for dry.
- Don’t overcrowd the fryer or air fryer. It’ll drop the temp and make them soggy.
- Salt immediately after cooking. That’s when it sticks best.
- If using an air fryer, spray oil lightly but evenly. It really helps with browning.
Totally Worth the Effort
Making onion rings from scratch might not be an everyday thing — but once you do it, you’ll see why it’s worth the extra few steps. They’re fresher, crispier, and more flavorful than anything that comes from a frozen bag or fast food counter.
Whether you’re frying them up for a party platter or throwing a batch in the air fryer for a Saturday snack, this recipe delivers on that irresistible crunch every time.