I didn’t plan to fall in love with sourdough. Like most people, I started dabbling in it during a slow week, curious to see what all the fuss was about. What started as a weekend experiment turned into a full-blown obsession with wild yeast, stretchy dough, and those golden crusts that crackle when you tear into them.
Here’s the thing: sourdough bread is simpler than it seems, but it does take time. Not hard work — just patience. Once you get the rhythm down, it’s like second nature.
This is my go-to sourdough method. It’s reliable, flexible, and makes two beautiful loaves. No fancy equipment needed beyond a bowl, your hands, and a little time.
Ingredients
For the dough:
- 100g active sourdough starter (fed and bubbly)
- 750g warm water
- 900g bread flour
- 100g whole wheat flour
- 20g salt
Optional tools (helpful, not essential):
- Dutch oven or baking stone
- Bench scraper
- Proofing basket or bowl with a towel
- Kitchen scale (strongly recommended for accuracy)
Build Your Starter First
If you don’t already have a sourdough starter, you’ll need to build one from scratch — a process that takes 5–7 days. Once it’s active, bubbly, and doubling in size between feedings, you’re good to go.
If you’re already feeding a starter, make sure it’s at peak activity before mixing the dough. That means feeding it 4–6 hours before you plan to start.

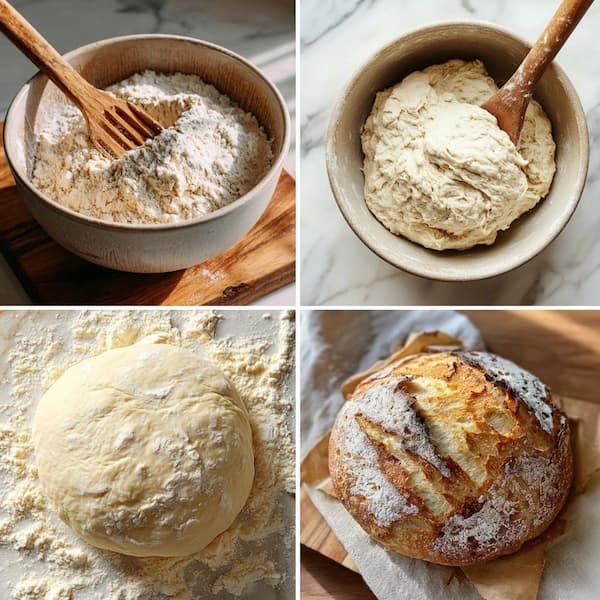
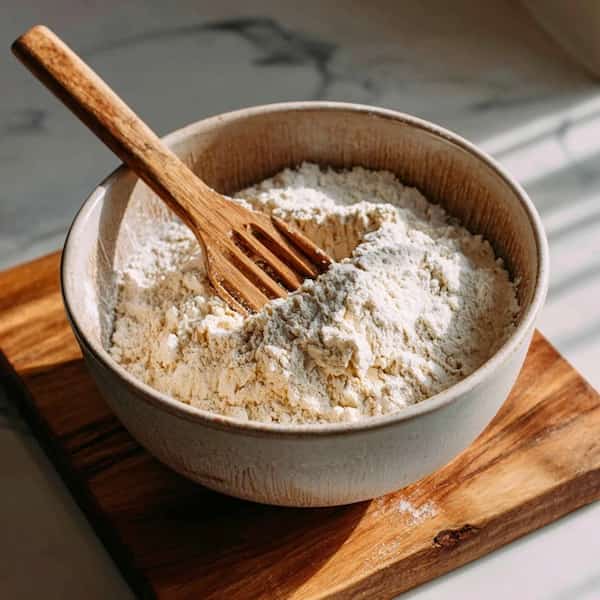
Mix and Autolyse
In a large bowl, mix the starter with warm water until mostly dissolved. Add both flours and mix until no dry spots remain. Don’t knead — just stir and fold the dough with your hands or a spatula until it comes together.
Cover the bowl and let it sit for 30–45 minutes (this is the autolyse phase, and it helps gluten start forming naturally).
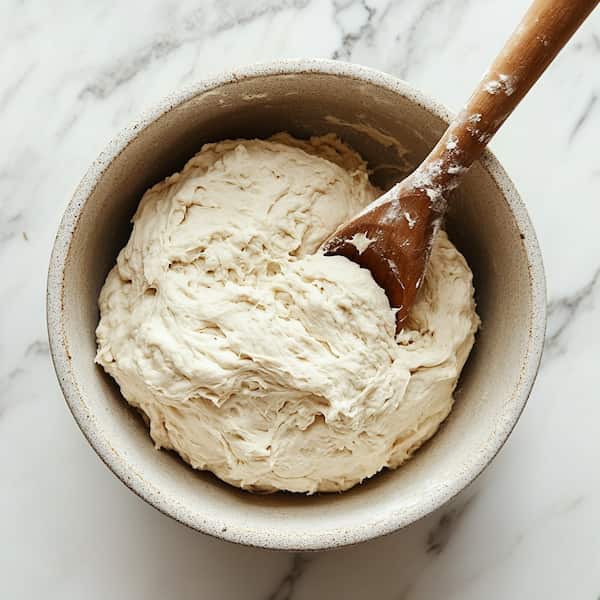
Add Salt and Start Bulk Fermentation
Sprinkle the salt over the dough. Wet your hands and knead it lightly in the bowl to incorporate. Then cover the bowl again and let it rest for 4 to 5 hours, depending on room temperature.
During this time, you’ll do a series of stretch and folds every 30–45 minutes — just lift one edge of the dough, stretch it up, and fold it over. Rotate and repeat on all sides.
You’ll notice the dough becoming smoother, stronger, and puffier as fermentation progresses.
Shape and Pre-Shape
After bulk fermentation, turn the dough out onto a lightly floured surface. Divide it in half. Gently shape each half into a round (or oval) and let them rest uncovered for 20–30 minutes.
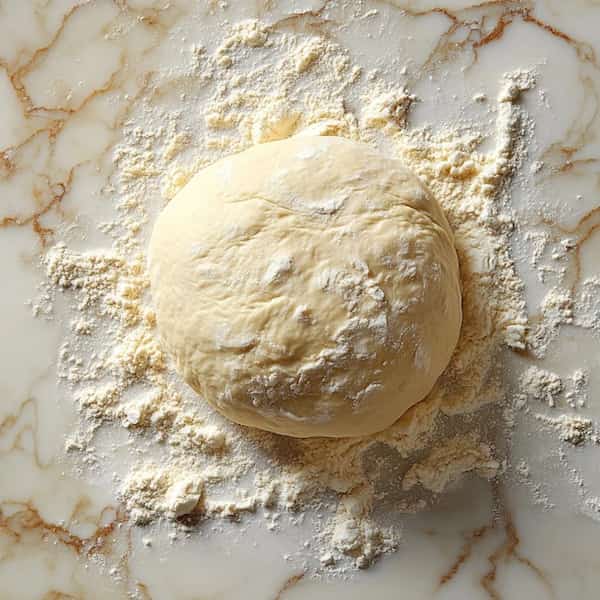
Then shape them again more tightly — tucking the edges under and forming a smooth top. Place each loaf seam-side up in a floured proofing basket or bowl lined with a clean towel.
Cold Proof Overnight
Cover your dough with a towel or plastic wrap and place it in the fridge overnight — 8 to 16 hours. This slow fermentation deepens the flavor and helps with oven spring (that nice rise you see during baking).
Bake Hot and Fast
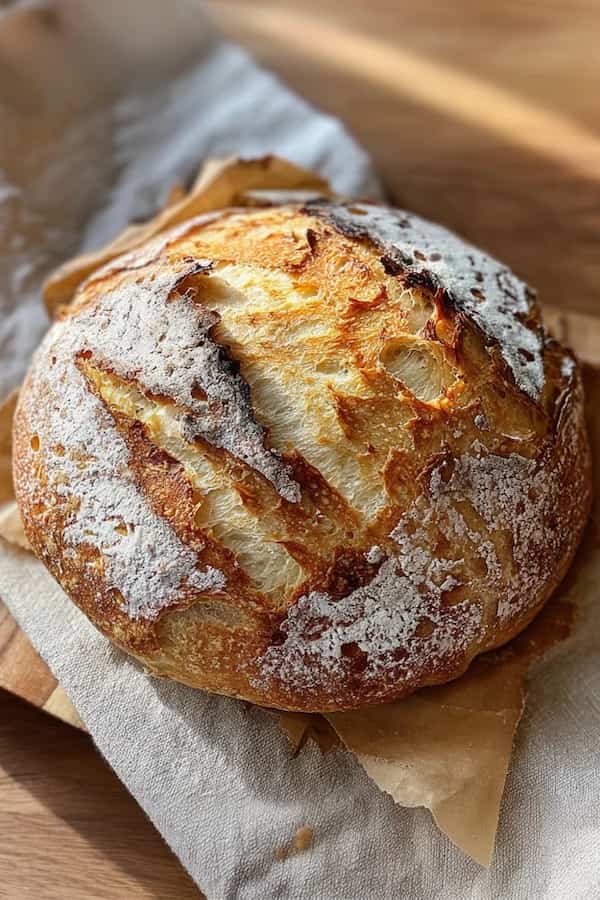
The next day, preheat your oven to 475°F (245°C) with your Dutch oven inside. Once hot, carefully turn a dough round onto a sheet of parchment, score the top with a sharp blade, and lower it into the Dutch oven. Bake covered for 20 minutes, then uncover and bake another 20–25 minutes until deep golden and crisp.
Repeat with the second loaf, or bake both at once if you have two Dutch ovens or baking stones.
Cool completely on a wire rack before slicing. (Yes, it’s hard to wait. But worth it.)
Why It Works
This recipe leans on time and gentle handling to develop structure and flavor without kneading or stress. The mix of bread and whole wheat flour gives a slightly nutty, chewy interior. The overnight proof gives you depth, and baking in a covered vessel traps steam for that perfect crust.
It’s reliable, forgiving, and adaptable — once you get a feel for it, you’ll start improvising with flours, hydration, and timing like a true home baker.
Make It Yours
Once you’ve got the hang of this base recipe, it’s easy to play with:
- Add-ins like roasted garlic, olives, seeds, or herbs bring variety.
- Try different flours — rye, spelt, einkorn — to change the flavor and texture.
- Sprinkle the top with oats or sesame before baking for an artisanal touch.
- Use a higher hydration (more water) once you’re comfortable for a more open crumb.
You can also scale it down for just one loaf, or freeze the second loaf after baking for later.
Tips for Better Bread
Use a kitchen scale. Sourdough rewards precision, and grams are more reliable than cups. Stick to room temperature fermentation unless your kitchen is hot — then shorten the rise time slightly.
Don’t over-handle the dough. Gentle stretching and folding builds structure without breaking it down. Let the loaves cool completely before slicing, or the crumb will turn gummy.
And most importantly: trust the process. Even if your first loaf isn’t perfect, you’ll learn something every time.
The Bread That Keeps on Giving
There’s something grounding about sourdough. It connects you to a slower rhythm, one that rewards patience and attention. And unlike other bread, sourdough just gets better with practice.
Once you get your first crusty, golden loaf out of the oven — full of steam, smelling like heaven — you’ll be hooked. Whether you’re a full-on sourdough nerd or just getting started, this recipe is your new best friend in the kitchen.