If you’re searching for a dessert that’s indulgent, easy to make, and vegan, look no further than vegan oreo truffles. These bite-sized treats are rich, creamy, and loaded with chocolate goodness.
Let’s dive into the step-by-step process of making these irresistible vegan Oreo truffles.
Pin it for later!

Why You’ll Love This Recipe
- Simple Ingredients: You only need a handful of ingredients, most of which are likely already in your kitchen.
- Customizable: You can switch between white and dark chocolate depending on your taste preference.
- Vegan-friendly: This recipe uses plant-based ingredients, making it perfect for vegans or those with dairy allergies.
Ingredients
For the Oreo filling:
- 36 Oreo cookies (check the label to ensure they’re vegan and gluten free)
- 8 oz of vegan cream cheese (softened)
For the coating:
- 8 oz vegan dark chocolate chips or 8 oz vegan white chocolate chips (or gluten free variation)
- 1 tbsp coconut oil (optional for smoother chocolate coating)
For decoration (optional):
- Crushed Oreos
- Vegan white chocolate drizzle (if using dark chocolate coating)
- Vegan dark chocolate drizzle (if using white chocolate coating)
Instructions
Step 1: Prepare the Oreo Mixture
Start by placing the Oreo cookies in a food processor and pulse them until you have fine crumbs. If you don’t have a food processor, you can also put the cookies in a zip-lock bag and crush them with a rolling pin. The goal is to create a fine, sand-like texture.
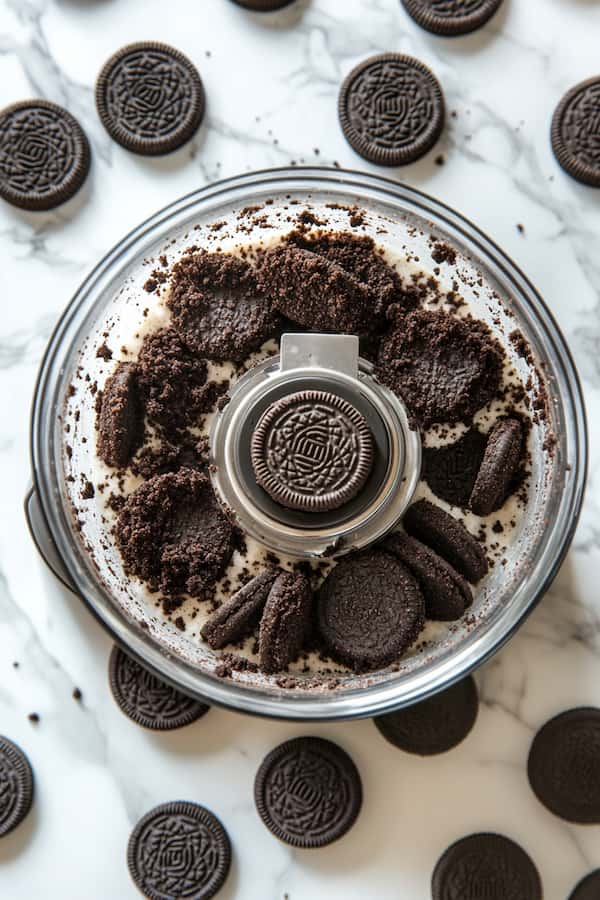
Once the Oreos are crushed, transfer them into a large mixing bowl. Add the softened vegan cream cheese to the bowl and mix thoroughly. You can use a spatula or your hands to ensure the cream cheese is well incorporated into the crumbs. The mixture should be smooth and easy to mold into balls.
Step 2: Form the Truffles
Next, scoop out portions of the Oreo mixture using a small cookie scoop or a tablespoon. Roll each portion into a ball using your hands. You should end up with around 30–36 truffles, depending on how large you make them.
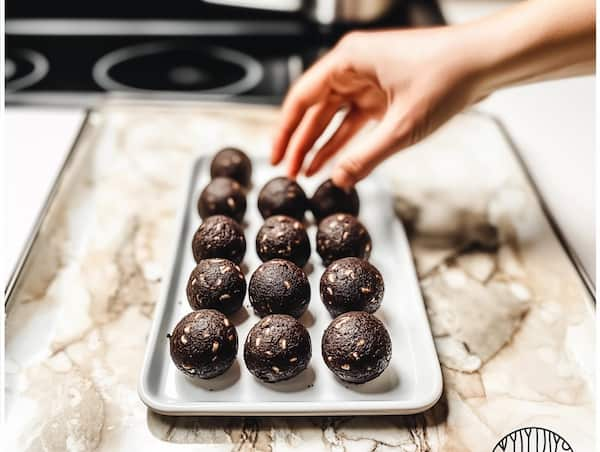
Place the Oreo truffles on a baking sheet lined with parchment paper. Once all the balls are formed, refrigerate them for at least 30 minutes. This step will firm up the truffles, making them easier to coat in chocolate later.
Step 3: Melt the Chocolate
While the truffles are chilling, melt your chocolate. You can use either dark or white chocolate, depending on your preference.
To melt the chocolate, place your vegan chocolate chips in a microwave-safe bowl. Add the coconut oil if you want a smoother finish. Microwave the chocolate in 20–30 second intervals, stirring in between each session until the chocolate is fully melted and smooth. Be careful not to overheat the chocolate as it can burn easily.
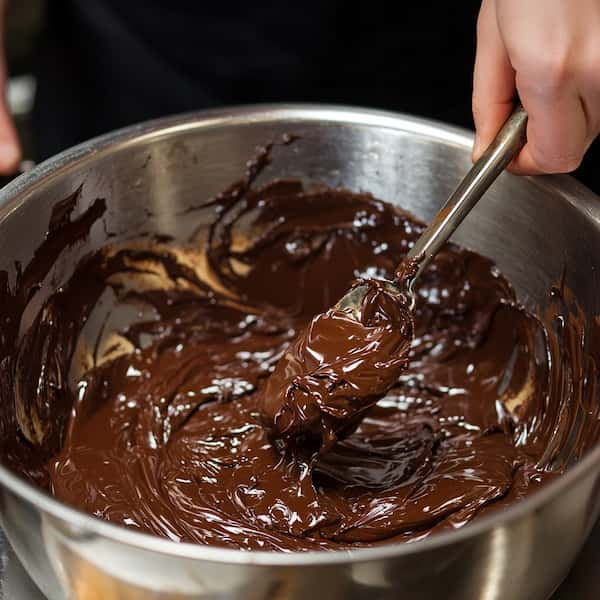
Alternatively, you can use a double boiler method by placing the chocolate in a heatproof bowl over a pot of simmering water. Stir continuously until the chocolate is melted.
Step 4: Dip the Truffles in Chocolate
Once the chocolate is melted and the truffles are firm, it’s time to coat them. Take the chilled truffles out of the refrigerator and, using a fork, dip each ball into the melted chocolate. Gently tap off any excess chocolate and place the truffle back onto the parchment-lined baking sheet.
If you’re making both white and dark chocolate truffles, divide your truffles into two batches. Coat one batch in melted vegan white chocolate and the other in dark chocolate.
Step 5: Add Decorations
Before the chocolate sets, sprinkle some crushed Oreos on top of each truffle for extra crunch and decoration. Alternatively, you can drizzle dark chocolate over the white chocolate-coated truffles or vice versa. This adds a fun, contrasting design and enhances the visual appeal of your treats.

Let the chocolate coating harden completely. You can speed up this process by placing the truffles in the fridge for about 15–20 minutes.
White Chocolate vs. Dark Chocolate: Which Should You Choose?
The beauty of this recipe is that you can cater it to your preferences. If you’re a fan of bitter, rich flavors, vegan dark chocolate will give you that deep cocoa taste. On the other hand, white chocolate offers a sweet, creamy flavor, which pairs wonderfully with the Oreo filling.
Feel free to experiment and even mix and match the two! You could dip some truffles in white chocolate and others in dark chocolate, or create a half-and-half coating by drizzling one type of chocolate over the other.
Variations and Tips
- Add Nut Butter: If you want a little twist, you can add a tablespoon of almond or peanut butter to the Oreo and cream cheese mixture. This adds a nutty flavor that complements the chocolate.
- Use Different Cookies: If you want to switch things up, try using a different type of vegan cookie, like graham crackers or chocolate chip cookies, as the base for your truffles.
- Vegan Ferrero Rocher Alternative: If you’re a fan of hazelnut-chocolate combinations, you can try making vegan Ferrero Rocher-style truffles with a recipe like this Vegan Ferrero Rocher Chocolate Truffles. It’s a great option if you’re looking for another indulgent vegan treat to share at parties.
Storing Your Truffles
Vegan Oreo truffles store well, making them an ideal make-ahead dessert. You can keep them in an airtight container in the refrigerator for up to one week. If you want to store them for longer, freeze the truffles for up to 2–3 months. When freezing, make sure to place them in a single layer so they don’t stick together. When you’re ready to enjoy them, simply let them thaw in the fridge for a few hours before serving.
Conclusion
These vegan Oreo truffles are an absolute delight. Whether you’re dipping them in vegan white chocolate for a creamy, sweet treat or opting for dark chocolate to satisfy your rich, decadent cravings, they’re a hit at any gathering. Plus, they’re simple to make and require only a few basic ingredients. Try them out for your next party, or whip up a batch just to treat yourself!

