Ingredients
Method
Build Your Starter First
- If you don’t already have a sourdough starter, you’ll need to build one from scratch — a process that takes 5–7 days. Once it’s active, bubbly, and doubling in size between feedings, you’re good to go.
- If you’re already feeding a starter, make sure it’s at peak activity before mixing the dough. That means feeding it 4–6 hours before you plan to start.
Mix and Autolyse
- In a large bowl, mix the starter with warm water until mostly dissolved. Add both flours and mix until no dry spots remain. Don’t knead — just stir and fold the dough with your hands or a spatula until it comes together.
- Cover the bowl and let it sit for 30–45 minutes (this is the autolyse phase, and it helps gluten start forming naturally).
Add Salt and Start Bulk Fermentation
- Sprinkle the salt over the dough. Wet your hands and knead it lightly in the bowl to incorporate. Then cover the bowl again and let it rest for 4 to 5 hours, depending on room temperature.
- During this time, you’ll do a series of stretch and folds every 30–45 minutes — just lift one edge of the dough, stretch it up, and fold it over. Rotate and repeat on all sides.
- You’ll notice the dough becoming smoother, stronger, and puffier as fermentation progresses.
Shape and Pre-Shape
- After bulk fermentation, turn the dough out onto a lightly floured surface. Divide it in half. Gently shape each half into a round (or oval) and let them rest uncovered for 20–30 minutes.
- Then shape them again more tightly — tucking the edges under and forming a smooth top. Place each loaf seam-side up in a floured proofing basket or bowl lined with a clean towel.
Cold Proof Overnight
- Cover your dough with a towel or plastic wrap and place it in the fridge overnight — 8 to 16 hours. This slow fermentation deepens the flavor and helps with oven spring (that nice rise you see during baking).
Bake Hot and Fast
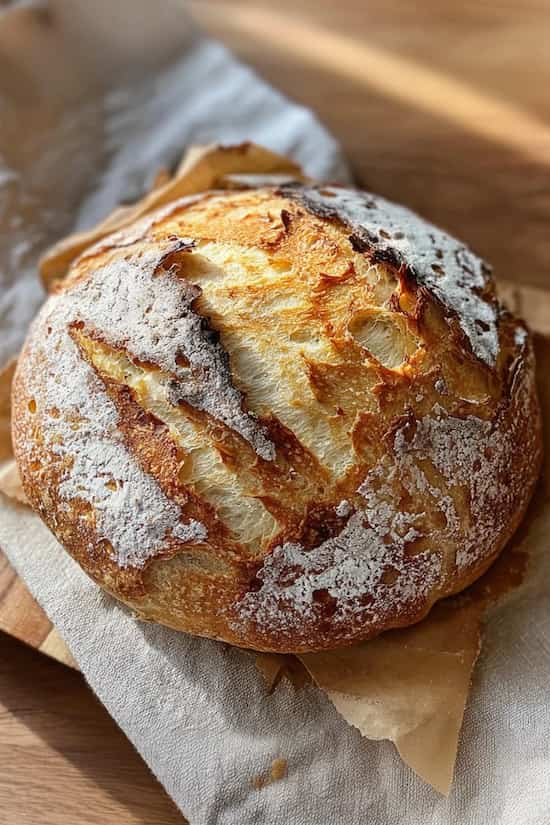
- The next day, preheat your oven to 475°F (245°C) with your Dutch oven inside. Once hot, carefully turn a dough round onto a sheet of parchment, score the top with a sharp blade, and lower it into the Dutch oven. Bake covered for 20 minutes, then uncover and bake another 20–25 minutes until deep golden and crisp.
- Repeat with the second loaf, or bake both at once if you have two Dutch ovens or baking stones.
- Cool completely on a wire rack before slicing. (Yes, it’s hard to wait. But worth it.)